Here is a brief introduction to the manufacturing process:
Simplified Transparent Sticker Production Process
-
Design & White Ink Strategy:
-
Design: Create the graphic file and set it to CMYK color mode.
-
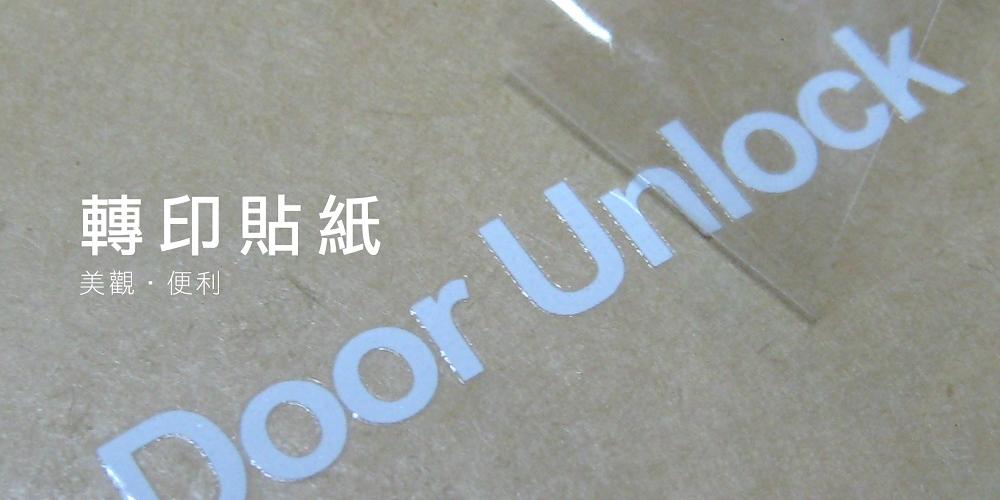
White Ink Layer: Since the sticker is transparent, if colors are printed directly, they will appear dull due to light transmission from the background. Therefore, the scope of White Ink must be precisely planned (usually only placed underneath the color areas) to serve as a base layer, thus enhancing the color saturation and opacity.
-
Material Selection:
-
Printing:
-
Finishing (Protective Layer) & Lamination:
-
Lamination: It is highly recommended to apply a gloss or matte film (cold lamination) over the graphic to protect the ink, making it scratch-resistant, waterproof, resistant to chemical solvents, and increasing its overall lifespan.
-
Die-Cutting:
-
QC & Delivery:
Core Focus: The method of using "White Ink" determines the final visual effect of the transparent sticker.